The Rubber Tyred Gantry (RTG) crane is widely used in ports, precast yards, and heavy industries due to its mobility, high capacity, and flexibility.
However, installation quality directly impacts safety, performance, and lifespan.
This guide outlines the complete RTG crane installation process, key technical points, and common issues—helping buyers and engineers ensure a smooth setup.
1. Pre-Installation Preparation
Proper preparation ensures safe and efficient installation.
Site Requirements
Flat, reinforced ground with sufficient load capacity
Clear working area for lifting operations
Equipment & Tools
Heavy-duty cranes (100T+)
Torque wrenches, laser alignment tools
Safety equipment (harness, barriers, grounding)
Component Inspection
Verify all parts (structure, wheels, hoist, hydraulic system)
Check for damage or missing items
2. RTG Crane Installation Process (Step-by-Step)
Step 1: Gantry Structure Assembly
Install A-frame legs and main girder
Align verticality (≤1/1000 deviation)
Control diagonal error ≤5mm
👉 This step determines overall structural stability
Shandong Province manufacturing high-quality development of leading talent seminar Shandong Honfu Technology Co., Ltd. office October 16, 2022 11:22 Shandong In order to fully implement the meeting spirit of the provincial Party Committee and pro...
Learn how to choose the right heavy duty overhead crane for metallurgy and manufacturing plants. Discover key parameters, selection tips, and safety requirements.
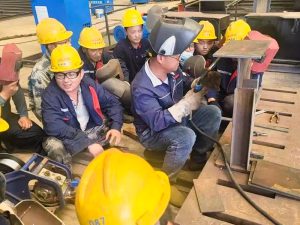
July 12, 24 years Xintai City "crane manufacturing" project training welder class in Honfu Company. Shandong Honfu Technology Co., Ltd. office In order to further enhance and enrich the theoretical knowledge and practical skills of the company's t...
When purchasing a European electric hoist, many buyers struggle to understand technical specifications such as lifting capacity, lifting height, hoisting speed, duty classification, and motor configuration. Choosing the wrong parameters can lead t...
 Bridge crane | Gantry crane | Suspension crane | Hongfu Crane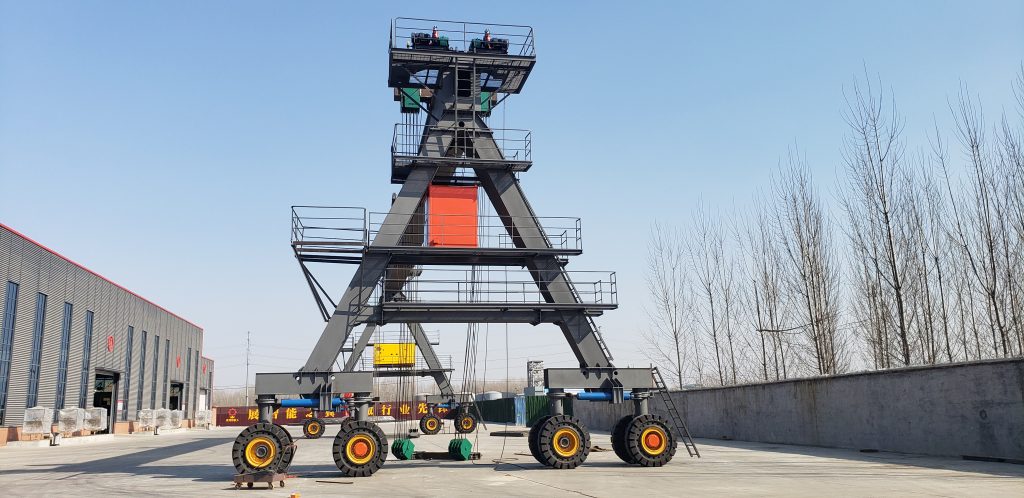


HelloPlease log in